Legs and Core Workout
Today, I have the legs and core workout for you.
I want to make sure that you guys get the description so that way you understand not only the exercises, and how to do them and how not to do them wrong, or how not to do them improperly.
Let’s go ahead and knock this out.
If you have not yet already, check out my video on dynamic warm-ups because whenever you do any exercise or exercise program, you want to make sure that your body is warmed up.
Alright, we’re gonna go ahead and do a…
Step Back Lunge
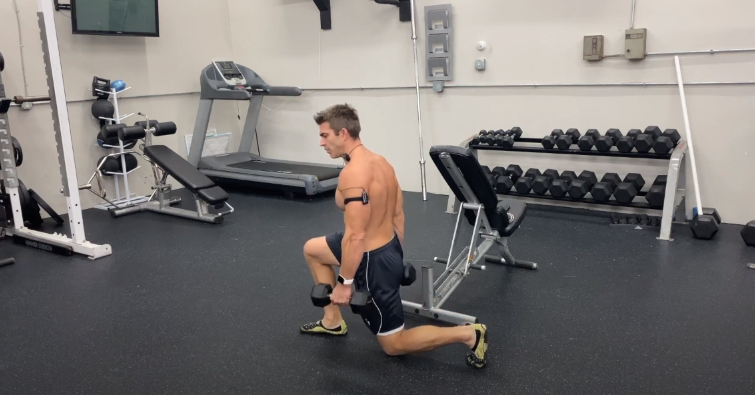
You’re gonna do all eight reps, all on the one leg. You’ll see how you’re stepping back and you want to make sure that when you’re doing this, you get a good step back. If you don’t want to use dumbbells, don’t use them, you make sure you have the proper form first. You only want to be sure you’re driving up through the heel of the front foot and make sure when you step back, your knee is going to be behind your toes.
This is one of the safer lunges to do. A lot of times, if you’re starting off, it’s a good one to do, you’re stepping away, you’re not lunging into it or you can actually push it near the top of your toes.
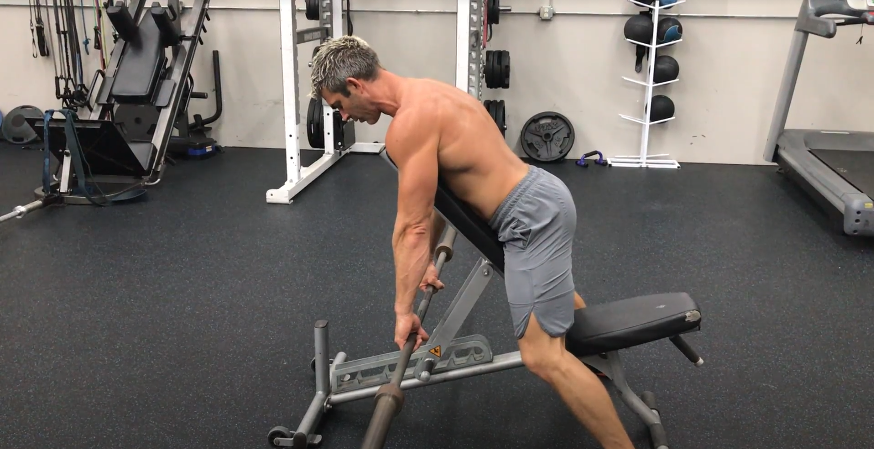
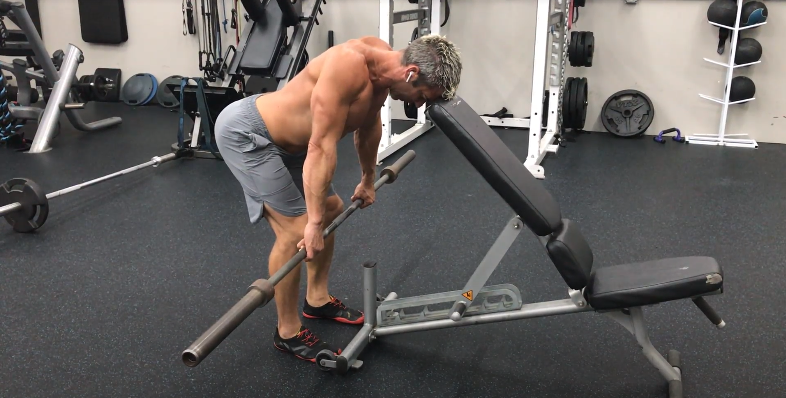
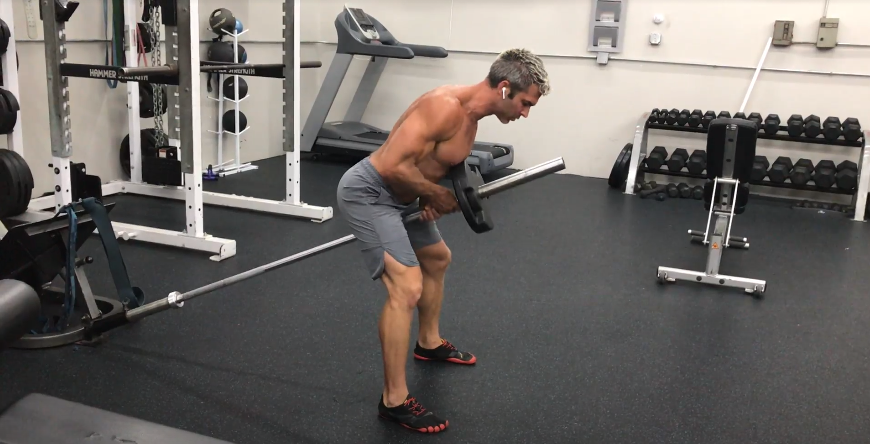
Good-Morning
The next exercise is a good-morning.
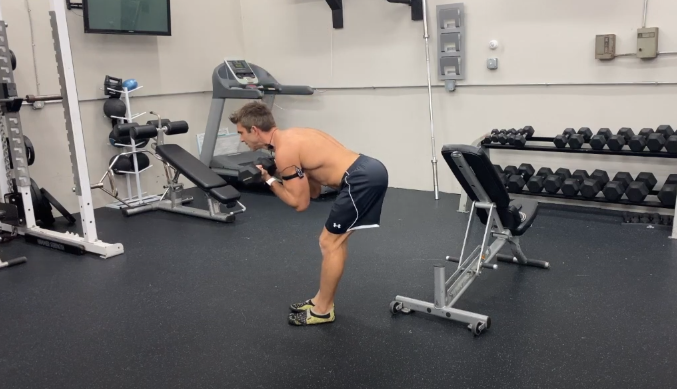
You need one or two things:
- You either hold two dumbbells in front of you, you’re gonna have stiff legs, and you’re going to keep pushing your butt back and it is very similar to your stiff-legged deadlift. But the good thing with this is you’re really engaging your core because you have your weights at a farther away from the access of what you’re trying to use. So since you had enough at your shoulders, your core is much more engaged because of where the dumbbells are placed.
2. Or you can grab a dumbbell and just do one dumbbell and make it heavier.
Good-morning is very similar to the stiff-legged deadlift, it’s just that the weights are up higher, either on your shoulders or in front of your shoulders.
Alright, those are the first two leg exercises of our legs and core workout, we’re going to do…
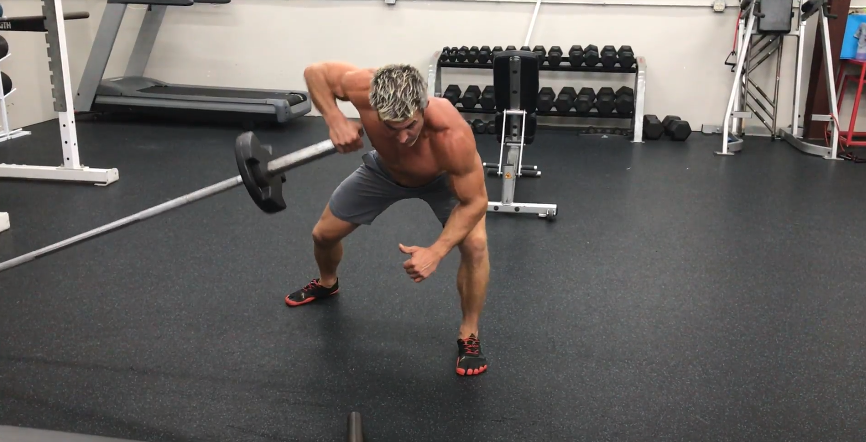
Ballistic Calf Raises
Instead of just doing calf raises, we’re making them ballistic, and you’re hopping from side to side.
When holding dumbbells and hopping from side to side, you’re also working your obliques and core as well. But with this one, make sure that your shoulders are back so that way you don’t hurt yourself when you’re doing it because if you’re all forward and your shoulders are forward, the tendency to possibly hurting your back.
Always be watching yourself in the mirror, pay attention and mindfully of what you’re doing, that way you guys don’t get injured.
Alright?
The next ones are…
Reverse Crunch
The biggest thing with this, if you don’t want to engage your lower back, you also make sure your back is flat on the ground. You want to keep your hands under your butt so that way you keep your back and grow and you’re literally just popping your hips up and you only come down and not bring your feet all the way down because then lower back arches. You want to make sure that you keep that lower back driven into the ground, popping it up. If you do want to bring your lower legs down to make it more advanced, only go as far as you notice before your lower back comes off the ground.
So mindfully, you’re going into these exercises.
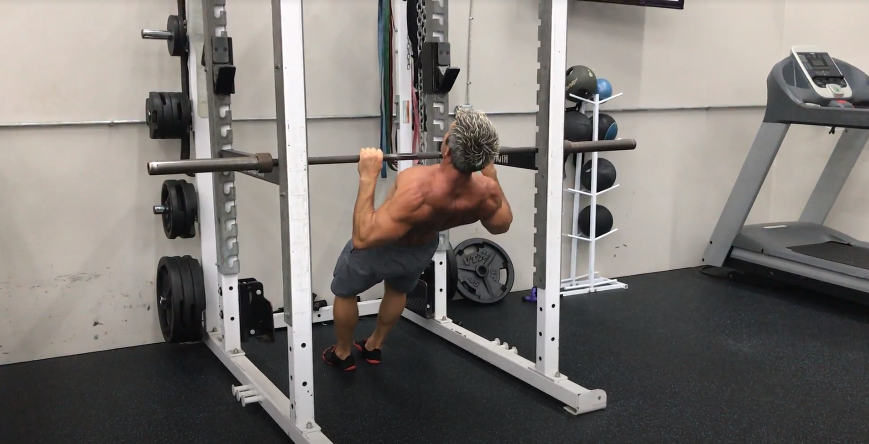
Goblet Squat
I like holding the dumbbell like this, preferably. You can use a kettlebell dumbbell, doesn’t really matter what you use as long as you’re using a weight.
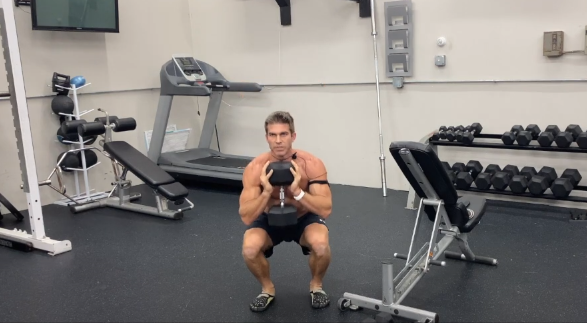
Alright, so goblet squat, just like a squat. The core is super-engaged though because you’re holding yourself upright. Each one makes sure you stay in your heels and do a good squat. When people are starting with me, I usually put something behind them so that way they can sit their butt back and tap it to the box or stab or couch or chair, whatever you’re using.
A goblet squat, holding the weights like that, you’re gonna go ahead and sit your hips back into the exercise. Stay on your heels, keep your head up, staring at a focal point. So get a focus point out there, stare at it, keeping your head up, keeping that core engaged, driving through your hips. Core super engaged which is great.
The next exercise for our legs and core workout is…
Single-Leg RDL
You can do this without holding on to something. It’s great for balance. It’s just like a stiff-legged deadlift, except you’re doing just one leg. The biggest thing with this is keeping the dumbbell super close to your leg, push your butt back, keep your body square. Don’t twist into it to try to get deeper. Keep your back straight, push your butt back.
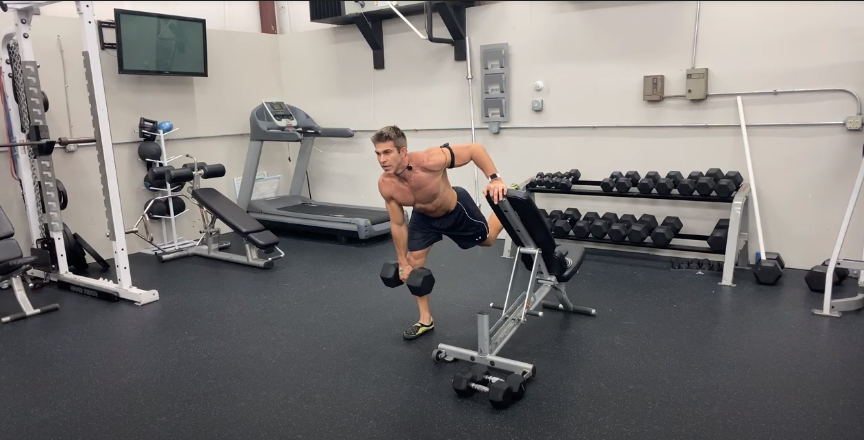
Also, I try to have people even honestly, knee forward so it helps them to drag through their hips and engage their glute and hamstring. You want to lean your shoulders back and transfer those hips. Stretch it down, everything’s controlled, it’s not a fast motion, you’re not flying through this trying to get it done. You want to do everything properly, mindfully understand your body, and the mechanics of it so that way, you get the best benefit out of it.
All right, so you’re gonna do both legs, and then we’re going to do a…
Single-Leg Calf Raise
Whatever hand you’re holding, the dumbbell in is the toe you’re rising up on. If you need to find something, if you have a step, and you want to use a step, the biggest thing is keeping that knee locked, and getting a good range of motion with your heel going up and down. Good ankle mobility.
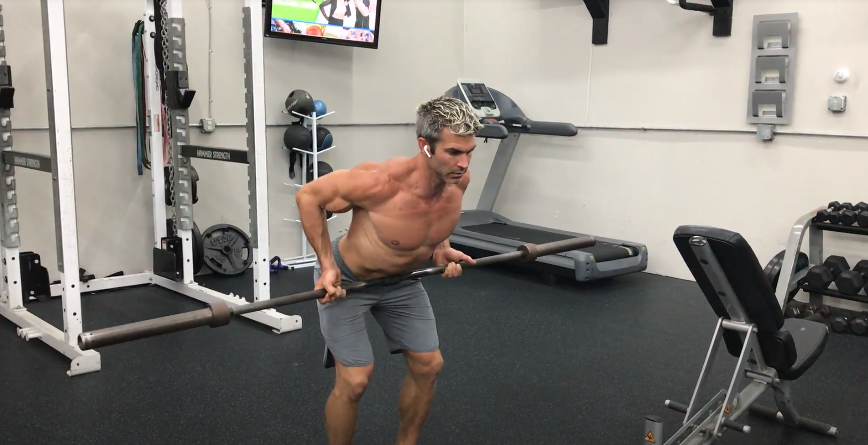
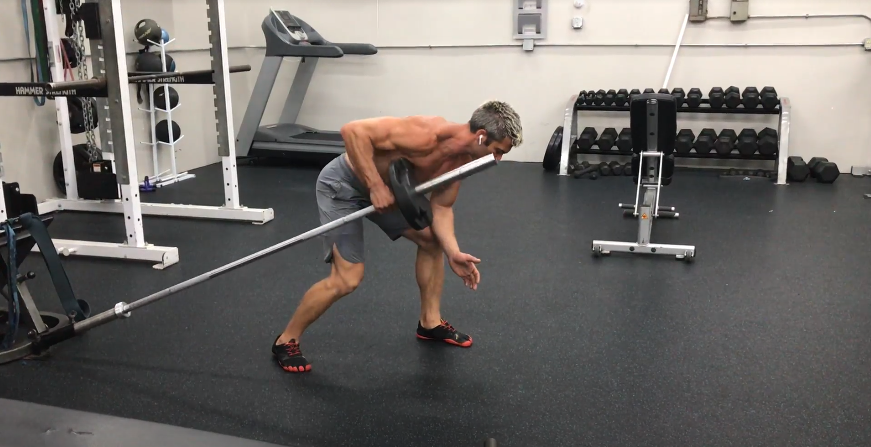
Dumbbell Side Bend
You want your feet together, shoulders back, and you’re reaching away from the dumbbell.
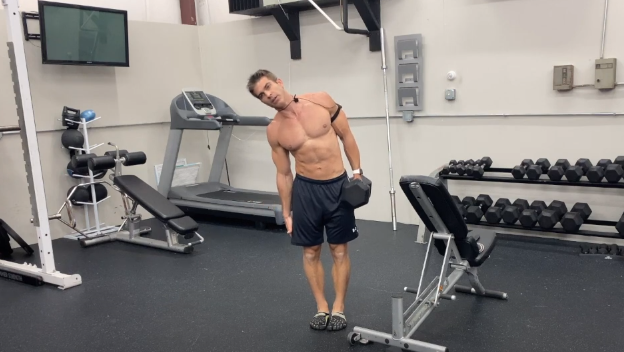
I want to say 90% of the people do this wrong. They’re letting the dumbbell do all the work. You’re taking that dumbbell and you’re working opposite.
Curtsy Lunge
The same thing with goblet squats but this is a lighter exercise. When you do a goblet squat, it’s gonna be a lot heavier.

Curtsy Lunge is stepping behind your foot, tucking your foot and kneeling almost where your heel is and coming up. You can do all 10 of these to the same side and then alternate, or you can alternate in between each one.
This is great for hips. It’s driving through hips, building the glue, making all of it strong.
Like I said before, if you’re not advancing and you don’t feel you can do some of these legs and core workout, definitely don’t use weights at first. You can get used to something and then move into a more advanced motion.
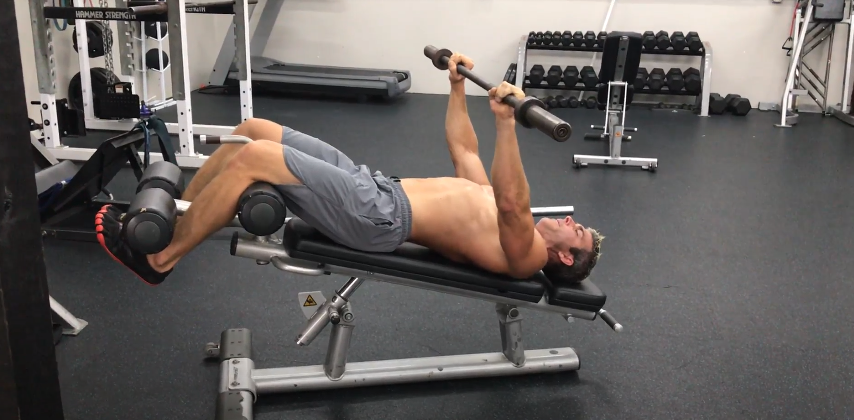
Hip Thrust
You’re just laying on your back.
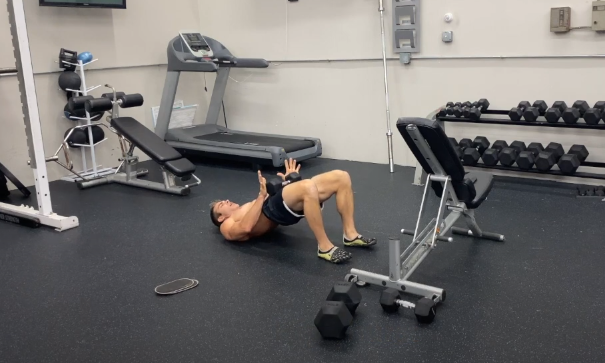
This can be a very heavy exercise. I teach all kinds of these like the barbell hip thrust, but this is just from the ground, driving your hips up, squeezing your glutes, so you’re pushing the dumbbell down in a downward motion so that way it stays up on your size when you’re doing this. Alright, so you just drive up, pushing through your heels, and squeezing your glutes and hips.
Slider Hamstring Glute Raise
I love sliders. It’s super easy to travel with and go anywhere. A good addition to make everything even more advanced.
So same thing, dumbbells on your hips, sliding in while lifting your butt. You’re not coming in and then lifting. You’re literally lifting, engaging the whole hamstring along the way and the insertion of wear ties in your glute, and then the finishing movement is a major glute squeeze at the end. Just keeping that there driving your hips up, then you drop your hips, slide back out, keeping your toes straight up. So your legs are flat, toes are straight up, and you’re pulling it in, you’re lifting before you start, lift and pull it sliding into you.
And the last one for this entire program is the…
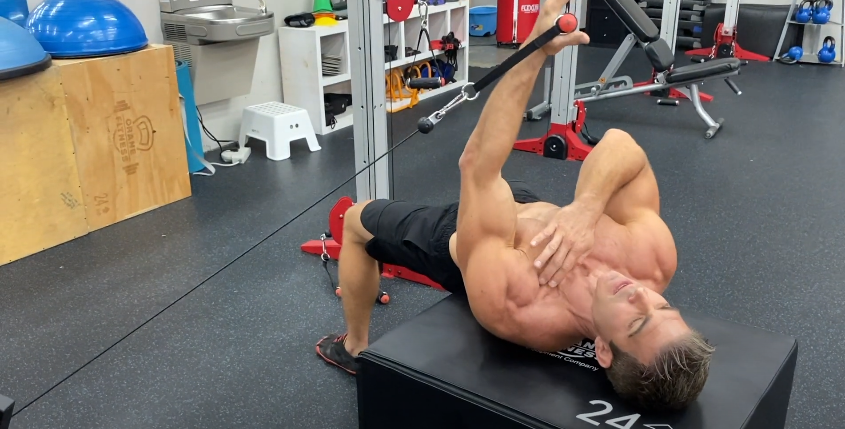
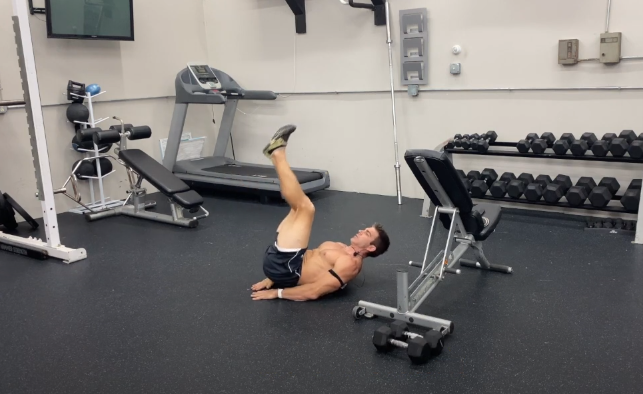
Half a Turkish Get-Up
You want to hold the dumbbell directly over your chest.
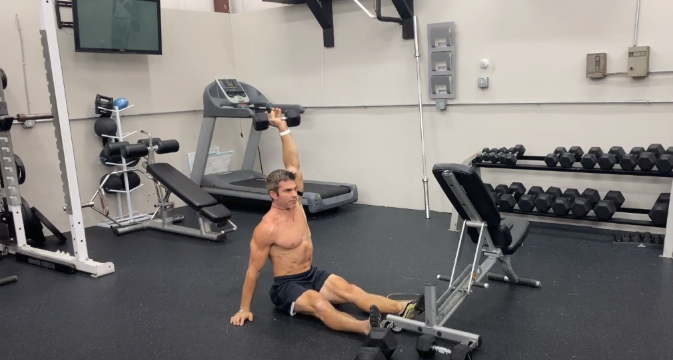
The cool thing about this, to really get that core activated is you’re going to roll to the side, your obliques are locked up, and you want to finish with it above your head. The same way back down, elbow flat.
You’re working this hole of abdominal and oblique on the one side and the five of them and then five on the other side, the same thing rolling up onto your elbow. The dumbbell rotates and stays up and then finishes it all the way up top.
It’s a tough exercise.
You can do this at home, you can do this at the gym, you can really honestly do this anywhere that you have dumbbells or any type of weight. Hopefully, you guys enjoyed these legs and core workout.
If you have not yet already, definitely subscribe to my YouTube channel, Brent Kasmer, so that way you’re notified when new workout and exercises stuff comes out.
If you want a program designed for you to get the most out of it, to get the best effect in the quickest amount of time, reach out! This is what I do, this is what I help people not waste any more time, get what they need to get in and done and exactly what they’re looking for to get the best benefits out of it. So hit me up, reach out to me or DM me on any of the social platforms and I will see you soon.