We’re going to be doing the same thing, diving into those hamstrings. We’re working on longing those hamstrings.
So hopefully all these different exercises are helping you if you have not seen the previous ones, my favorite one is the one with a strap.
So strap the hamstring stretch on the strap, the supine one, that’s my favorite hamstring stretch. But I’ve got a whole series in there for you guys, so you can use them all. And if you’re not sure if you have tight hamstrings, go back and check that tight hamstring test.
Alright, so the hurdler stretches, you want to make sure you’re one foot is back behind your butt. So I’m going to go ahead and rotate it like this. So you’re back behind your back, and you’re gonna take your opposite hand and you’re going to reach forward towards your toes. You’re going to use this other hand off the other side, the one that you’re going to use the same arm as the leg that is a bunch of tongue twisters here.
So the same arm and leg is forward to help push you. So to help you lean further into that stretch of the hamstring to grab those toes and pull it back, so you want to make sure your foot is as straight as possible, okay. And if you can’t get to your toes, you can use a belt or strap or a towel or something else to help you get over those toes are going to use that hand to reach forward, grabbing those toes and pulling them back towards you.
The same thing, try to make sure it’s straight. If you’ve mastered that and you’re able to grab your toes parently I wouldn’t say comfortably but if you’re able to do it, that’s when you would take both hands, and you want to make sure you’re tall in your torso, leaning forward and grabbing those toes. You’ll feel that pool all the way down the back of your leg. Same thing, try to keep that straight directed into the right position. Grabbing that, three long breaths, and you’re going to switch your legs with that right leg will come out around.
You’re gonna tuck that left leg back behind you gonna use your right arm to push yourself forward and grab those toes. stretching the hamstrings out if you’ve got them pretty comfortably. Take those both hands and breathe out and reach forward.
All right. So that is the seated hurdler stretch. And that will end my series on the hamstring stretches for this whole series.
So hopefully, all these videos are helping you guys. Make sure you like it and hit that notification bell so that way you’re notified as the new stuff comes out. And you know, definitely subscribe. So hopefully all this stuff helps. We’re gonna loosen up those hamstrings, relieve those back problems, knee problems, and you’re gonna be a better new person.
What’s up my fitness family? Today I have a 15-minute workout for kids and parents.
All right, this is BKPT. My name is Brent Kasmer. So if you haven’t subscribed yet, definitely subscribe. Mash that notification bell. That way you’re notified as the new stuff comes out. I’m always putting up all kinds of content as people ask me. Okay, so this was a great thing for parents and kids to do at home. I’m gonna go ahead and get started.
If you guys need modifications for any of these exercises, definitely comment so having a modification for whatever it is. All right, and I’ll go ahead and teach you.
I’m going to start off with mountain climbers. This is four sets of 10, two to four exercises, 10 repetitions each, and then you’re going to go repeat it again and repeat it again, four times through, then you’re going to start the next circuit and then the same thing, 10 repetitions each, and you’ve got 15 minutes. There you go.
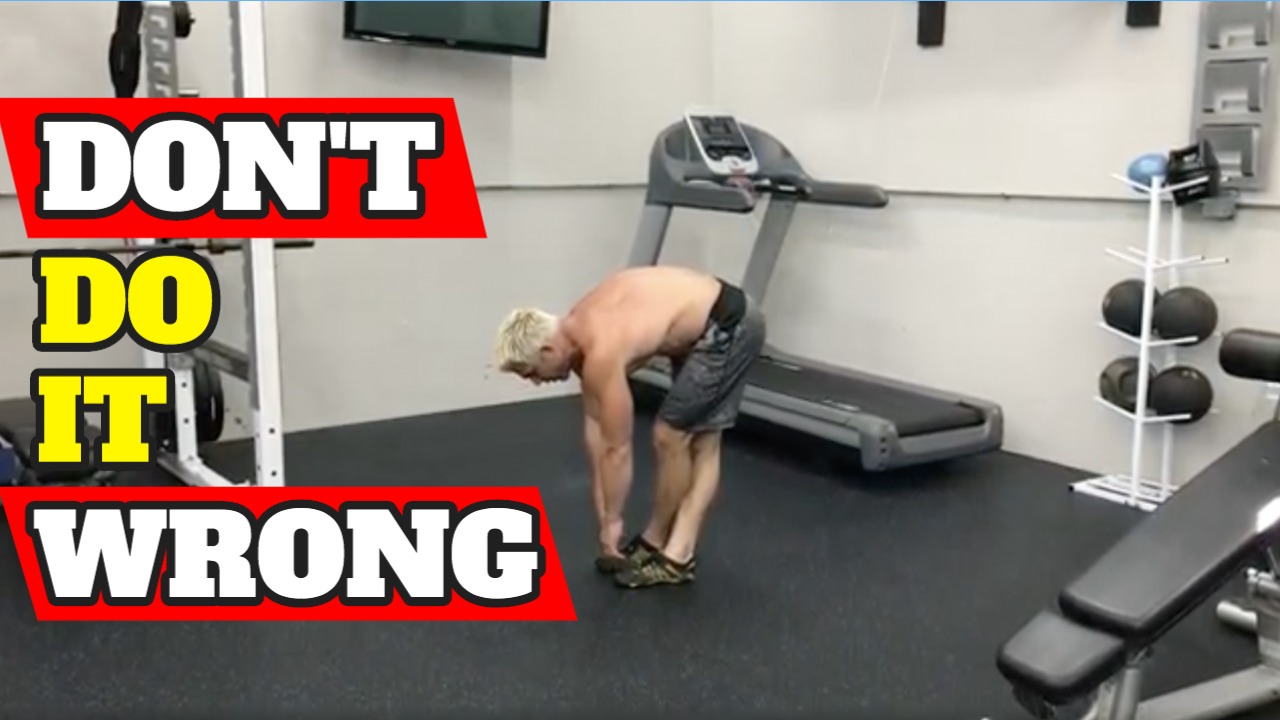
Alright, so we’re starting mountain climbers. When performing a mountain climber, you want to make sure to keep your shoulders directly over top of your hands. So a lot of times people get to the point where they’re doing it like this. Alright, so that’s incorrect. Make sure your shoulders over the top, your hands, back nice and flat, and you’re gonna want 1-2-2-3-3-4 cool, get a point.
And good. You’re gonna move on to push-ups. I’m going to teach you how to do a hand release, push up, just so that way you’re doing them right the whole time. So I have this line set up, it’s a band on the floor. You can use whatever like a carpet line or whatever type of line but it’s good to put your hands on this. So that way, you’re always aiming your chest towards that line. Same thing people do these increases because they start pushing their heads towards the rubber band.
So you want to make sure you’re putting your chest to the band and pushing straight up. So even if you perform these from your knees, you wanna make sure your back is nice and flat, chest down to the band, straight up. Same thing, 10 repetitions.
All right, now we’re gonna go right to a crunch. So on your back, I want you to keep your feet up in the air elevated. Cross your ankles, and keep your feet above your knees when performing these crunches. So your head back, tuck your chin to your chest and just crunch your hips toward your shoulders and your shoulders or your hips. Here, exhale as you come up and inhale as you come back, nice and slow, 10 repetitions, and then we’re going to perform our next exercise.
All right, so we’re gonna do a step back launch. The same thing can be standing nice and tall. You can hold dumbbells if you want, you can use weights, you don’t have to, here’s gonna step back. We’re gonna do the same leg for 10 repetitions, make sure you keep your shoulder blades back. I always have people stare something, you know, so that way they’re keeping their chin up, keeping your head nice and tall. You’re going to perform 10 reps, and then you’ll switch legs, and you’re going to do 10 repetitions.
All right, so that’s our first circuit. Now, you would hit pause. You’ll do these yourself four times through 10 reps each, and then you’re going to unpause it and I’ll explain the next circuit. The next circuit is the same thing as four sets of 10 – 10 repetitions. We’re going to start off with a drop squat. So your feet are together. We’re going to do drop squats. You’re gonna hop out and drop your butt down. And then back up and feet together. So Oh, and together, if you can hop just step to the side and then back up together.
Okay, so same thing 10 squats. All right, the next exercise is the hip thrust. So we’re gonna be laying on your back and you want your knees bent at 90 degrees. Your heads on the floor. You’re just driving up through your feet, nice and high, trying to squeeze your hamstrings and glutes. Back Down, up, squeeze, back down. Same thing 10 repetitions and then we’re moving on. The third exercise is Superman.
So you’re gonna lay on your stomach. Your arms are straight out in front of you. Here’s a feeder straight behind you, and you’re picking up from the top part of your thighs, and then the upper part of your back. So you’re arching your whole body up and then back down. Arching your whole body up, squeeze it, and then that, right? So you don’t want to bend your knees. All right, so you’re not lifting from your calves. You’re lifting from your thighs, so your eyes and you don’t want to want a head movement either. You’re just looking forward. Oh, and good squeeze. All right, so Superman.
And then the last exercise is the inchworm. So an inchworm is just like this. Try to keep your legs as straight as possible. All right. So if you need to, because of inflexibility you can bend your knees and go down also. You can rewind and watch one of my previous videos on how to stretch your hamstrings. So you’re gonna go down towards the floor, walk out with the palms walking out with your hands. You can walk out just into a plank, or you can add a push up also. And then you will just walk back, keeping your legs as straight as possible. And then standing all the way up.
So down, walking out, push up, and walking back. And all the way up. Awesome. So those are the four exercises. We have two circuits, four exercises each four rounds, 10 repetitions, it’s a 15-minute workout. Why is it 15 minutes? So that way you don’t have to strangle your kids because they’re not paying attention the last 10 – 20 minutes. So, you know, I’ve got two little ones. It’s about the attention span that I had them for their workouts, try to make them fun and interesting. I love doing it with them. It’s fun to do as a family so Alright, I hope that this helps so great a 15-minute workout for parents and kids to help shred some body fat.
What’s up my fitness family! Brent Kasmer here with BKPT. Today I’m going to show you the crossover leg stretch.
All right. So if you haven’t seen in the previous episodes, I’ve taught you how to test your hamstrings to see if they are flexible or inflexible. I’ve also set the symptoms of tight hamstrings and also showed you a series of different stretches to get into this. But this is just another stretch to get your hamstring right.
So the biggest thing is keeping that knee locked. So you want that leg to stay locked. So keeping that knee pushed back. So using this front lay to cross over this the back leg, you’re actually stretching the back legs hamstring by keeping that knee locked back and you’re going to lean forward. You never want to bounce and throw yourself into it. You want to make sure you just three nice deep, long 111breaths.
And as you exhale, you’ll be able to extend a little further but want to make sure that you’re using this leg. To keep this knee pinned back, so you’d be using the right leg to pin your left leg back.
And that would be how you would stretch the left hamstring. Three long breaths, about 10 seconds. So nice in and out and it’ll switch legs. So stand all the way up, adjust your body, walk that knee back, end straight and just do the same thing, three long breaths. And you can feel yourself getting a little bit deeper into those stretches.
So that would be your cross over leg stretch. Alright, so there’s another one for you to get those hamstrings nice and loosened up. So hopefully all these videos are helping you and you’re gonna have nice elongated hamstrings.
All right, Brett Kasmer BKPT, signing out. See you next episode.
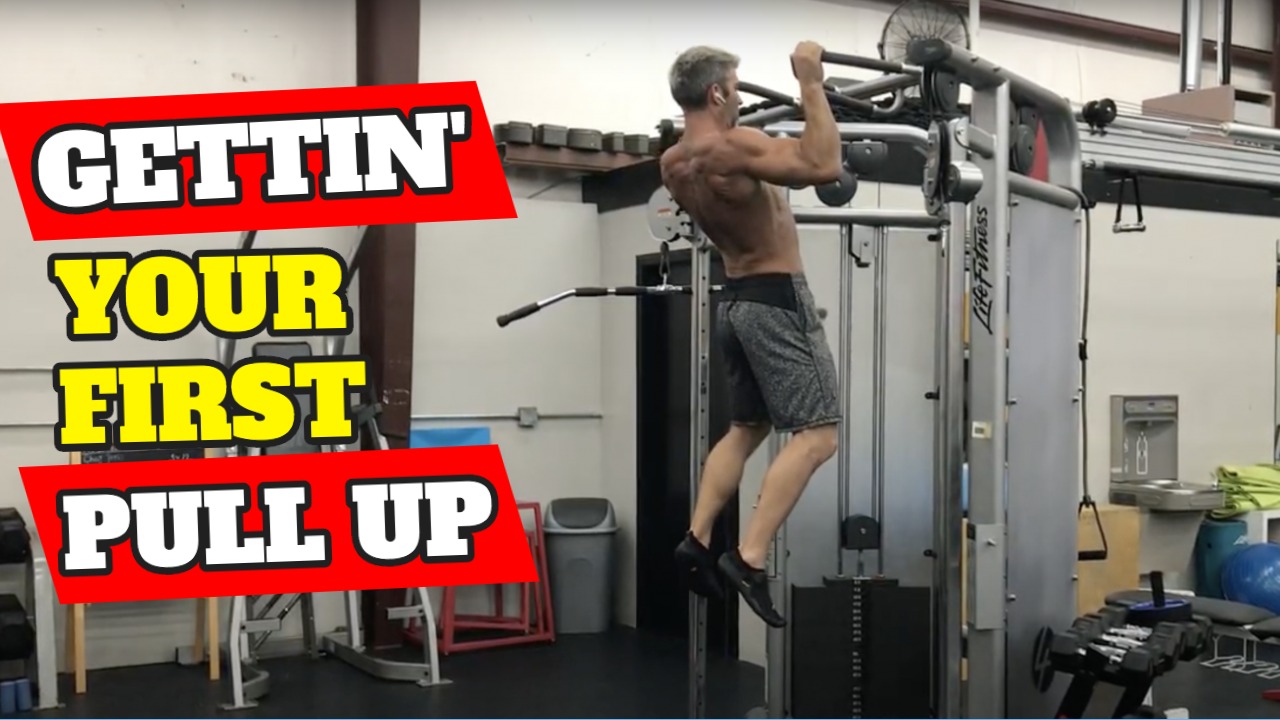
What’s up my fitness family! Today, I’m going to teach you how to get your first pull up.
All right, so these are six great tips on how to perform your first pull up. Everybody always struggled. A lot of people come to me and they’ll be like, man, I really won’t be able to pull up.
Alright, so my name is Brent Kasmer, BKPT. If you have not subscribed yet, definitely hit that subscribe button, smash that notification bell. That way you’re notified as the new stuff coming out. And I love teaching. So this is some great information.
CANT DO PULLUPS! 6 Pullup Tips to Get Your First One!
Everyone wants to be able to do pull-ups, I should say, but a lot of people do. So I want to teach you some quick tricks on how to get your first bullet.
All right, so we’re going to start off right here. So a lot of times you’ll see at the gym a lat pulldown bar. If you haven’t seen it in the past, I’ve taught people how to hook up resistance bands to make a pull-down without actually looking it up overhead. But we’re going to go ahead. I’m going to show you a quick tip. It’s kind of funny because most people don’t think about that. So like most gyms, the lat pulldown bar, you sit down in front of it, it’s got the knee pads that go over top of your knees and you kind of lean back and pull the bar down. When you’re trying to get pull-ups in.
When I’m working with clients, I’m always working with one, I want them right outside, their shoulders are not super far out wide, not all the way in close. We’ll start off overhand grip because that’s a pull-up. And we’re going to go from our knees to keep your chest up tall, just as if you’re hanging from a pool of water. So you’re kind of in the same position. So what this is doing is this is engaging your core tremendously. So your core is engaged.
A core is a huge factor in pull-ups. All right. So looking up where the cables attached and pulling this straight down and squeezing your lats. So looking up, exhale as you pull down. So you would just be performing your lat pulldowns from your knees.
I could feel my chords tremendously engaged, and you’re just doing your repetitions. So from your workout, whatever workout you’re doing for your lat pulldown, you’ll just use it from your knees, just as to help you to build up to getting your pull ups in. Alright. So that’s tip number one.
All right. So, tip number two is working on your grip strength. All right, so you can do your lat pull downs, and then jump right into a pull up bar, and literally just hang there. Alright, so we’re going to hang. We’re also going to engage our lats. So do you see me picking my body up just a little bit. It’s that first motion. So just arching your chest up and engaging your lats. Alright, so you don’t want to come up and then just fall down and torque your shoulders. You only want to be in control. So tear up, right back down into the relaxed position, but you want to do it in control.
Alright, so tip number two is to hang. And whenever you’re hanging also a caution in other videos before, well, you don’t want to slip into just a hook. So when I say a hook, you’re not wanting to just hook the bar with your fingertips, you want to make sure you’re firmly grabbing that bar, because you will suffer an injury from that which I taught in one of the previous videos also.
Alright, so the dead hang with the lat engagement. The next one is the negative. So you want to pull a box up or bench up to pull up bar and you want to jump up and just hold it as long as you can. Coming down. Nice and slow and controlled. All right, so doing several of these to jump up, holding it, the control coming down nice and slow. So if you can’t come down slow, you’d want to continue and doing the black pull down from your knees until you’re able to least hold three to five second hold on your negative, so it’s a negative motion for your pull ups. Alright. So that is tip number three, the negative pull up.
All right, tip number four, we’re going to do an assisted pull up. So you can take a regular band, there’s tons of different bands, but this is a very common one. So that’s why I’m showing it with this one. So you’re hooking it on to the actual pull up bar itself. Pull this band down in a rap, you’re around your foot. Okay, make sure everything’s secure. So that way doesn’t snap on you. So you’re gonna put your hands up for the pull up again, you’re gonna stop that band down, keep your legs straight, and crush your other foot in front of it, holding that band on it.
So this is just taking some of the resistance off of you being able to do a pull up. So just making it a little bit easier to an assisted pull up using a resistance band pulling that body up, good control and just performing these and the cool thing about these resistance bands is they all have different strengths. So you can change the strengths and work your way easier harder, and you know as you progress.
So we had a lat pulldown bar. We’ve had the hang for your grip strength, engaging your lats. The negative pull up, the assisted pull up. Now I just want to teach you how to engage your lats. All right. So just engaging your lats is going to help tremendously getting them engaged. So that way they can get stronger to help you with your pull ups as well. So grip strength is huge.
The next one we’re going to do because a core is a straight arm lat pulldown. So when you’re doing this, this keeps your core engaged, which is a huge factor in your pull ups. So grabbing it the same grip as you did for your pull downs. You’re gonna love that kind of hinge your butt back. There you go straight arm and just pull this down to your thighs.
So straight arms coming up to about your eyes, straight down your thighs and just feel your lats and, you know, engaged. So as you’re pulling that down straight, coming straight down, pulling down just like that.
And then the last one, number six, for just getting into those pull ups for engaging those lats is literally going to take you could use a doorknob or a door handle. I’ll show you here’s what that handles in general, but it’s just a rotational row.
So we want this down around your stomach belly button. You’re just gonna hold us in a neutral stance side by side, and you’re gonna start with your hand, overhand, so pronated grip, and you’re just going to be pulling it back and rotating underhand grip. And this is just slow. We’re just engaging your lats. So the key factor is getting those lats engaged. So that way you can start to mentally feel so it’s like a mind body connection, getting those lats engaged. And that way once you get the muscle engaged, and you’ll be able to feel it to make it work to do your pull up. So that rotational row like that helps you get those in you want to feel when you’re working so that way you know exactly how to do it.
All right, so those are the six tips to getting your first pull up. So hopefully, all of those help, I can’t wait to hear how fast people get their first pull ups when performing those six actions.
Alright, so definitely got that Make sure to subscribe, smash that bell so that way you’re notified when new stuff comes out BKPT and I look forward to teaching you some more helpful tips to get in that seven-figure body.
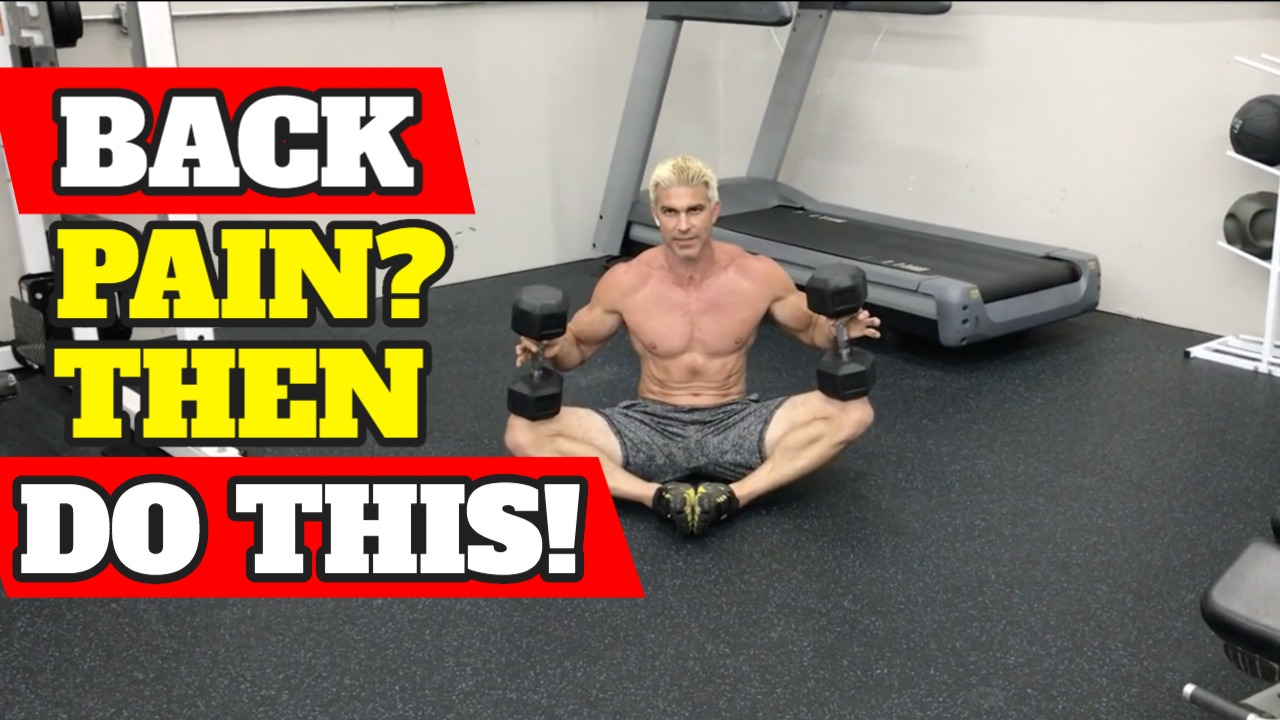
Guess what, today I’m going to show you the weighted butterfly stretch, which is way better than just a plain butterfly stretch. All right, my name is Brent Kasmer, BKPT.
And if you haven’t seen the previous episodes I’ve gone through like gluteal stretches, hamstring stretches, hamstring stretches with a towel, all kinds of different techniques and stretching those hamstrings out. So make sure you check those out.
And then if you’re not sure if you have tight hamstrings, we showed you the hamstring test. So make sure you go back and check that one out also, but here you go. So this is the weighted butterfly stretch. So you’re gonna sit down, you’re going to go into a butterfly stretch. So if you’re not familiar with the butterfly stretch, you’re just grabbing those toes, pulling them in towards you, keep your torso nice and tall.
Use your elbows on the inside of your thighs to push down your thoughts. Okay, if you’re not getting enough with those elbows, guess what? Let’s grab some weights. We’re gonna pull those knees in nice and tight. Take those dumbbells and just set them on your knees, forcing those out. So you want to make sure you’re taking long breaths, it helps you relax and not fight against the weights, you’re just breathing in and out. And then that is your weighted butterfly stretch, just don’t get stuck in that position.
All right. So hopefully these stretches are helping you out. That’s a great stretch to really get that inside of your thought. The biggest thing with this is a lot of times you won’t force yourself into a painful situation. So adding that extra resistance helps you to stretch a little bit further.
So one other quick tip. Don’t ever stretch cold muscles. Always warm up first before you’re stretching.
Alright, so these are some quick tips for you. Make sure you check out all those previous episodes to learn how to stretch out those hamstrings, right and test the hamstring make sure you’re in it’s tight, something like that.
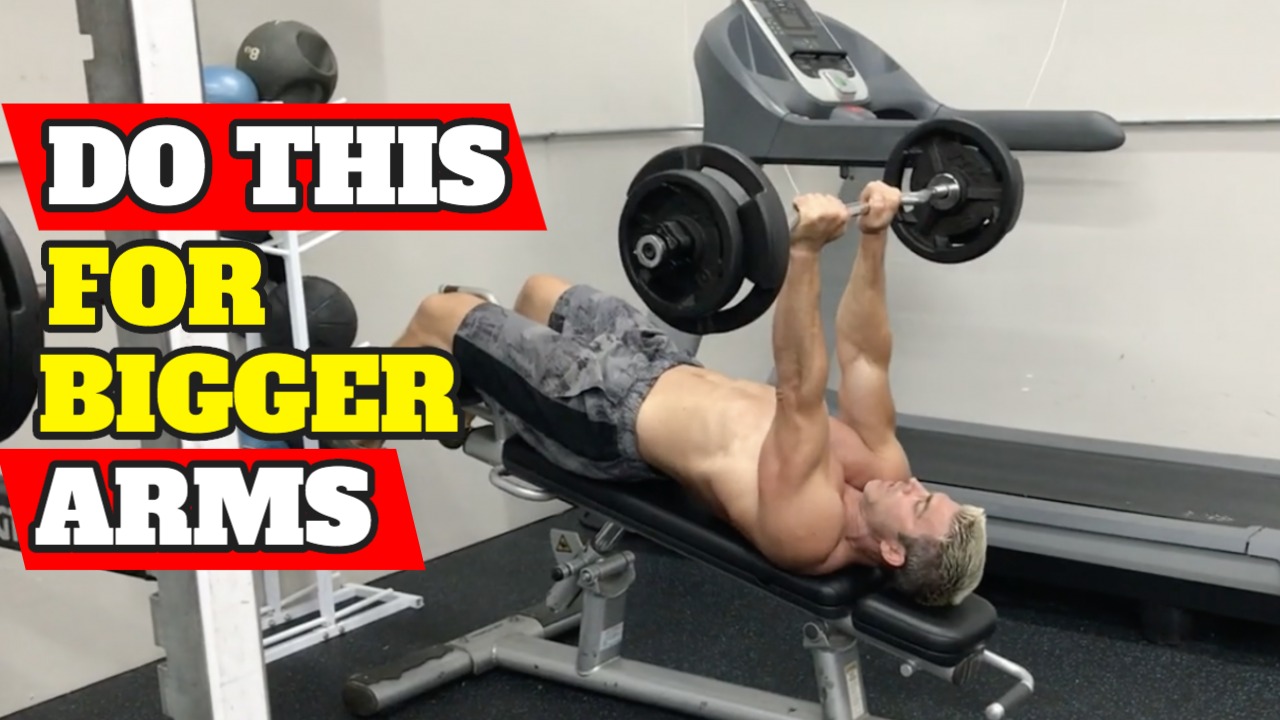
What’s up my fitness family? I am going to bring you today, the 10 best biceps and triceps exercises to get those big arms. All right. So Brent Kasmer from BKPT, can’t wait to share this with you. I’m gonna show you five exercises for each of the five to the triceps, five of the biceps key things.
THE 10 BEST BICEP AND TRICEP EXERCISES | For Getting Those Big Massive Arms
A lot of times you’ll see people out there working their biceps to get bigger arms, but guess what, the triceps make up two-thirds of the arm. So you can’t neglect them. You got to work them just as much. So I want to show you these exercises.
For the rep ranges, you want to make sure that you’re getting air between like six to eight repetitions on these and you want to have the time under tension. Be effective, so needs to be the correct weight.
So if you’re not logging your weights and you don’t know what you’re using you come in and do the same repetitions and the same weights over and over again, you’re not gonna have any improvements. So you have to make sure you’re challenging yourself. Don’t push yourself through injury, be smart about what you do. But guess what, are we going to show you the best exercises.
So first start off, this is a major mass builder for triceps. So this is known as the floor bench. All I did was raise these ups. So this is my floor. But what you’re doing is when you’re benching you only want to come down to where your elbows are parallel with your shoulders. So when your attention is so and you can do this real heavy too, which makes it really nice to pick it up. Come down, basic control drive. so it nicely controls the drive.
You want to make sure you lock that up, totally locking out those triceps. Boom. Like I said, six to eight repetitions. Okay, so I’m going to show you superset. So this is probably the most effective blasting to get that massive tricep barbell curls.
Great exercise. So this is for the biceps so we would superset these back and forth. I like the narrow grip, narrower grip makes the outside of the arm. This is the pretty part which most people see. So you’re going to have a narrow grip and just curl it up. If you notice, what I’m doing is I’m keeping those elbows in front of me. You don’t want to have your elbows tucked along your side. So keep your elbows in front, curling up. Good right demotion, keeping that tension on those biceps. Okay. Six to eight repetitions.
Next one I’m going to show you is a decline, skull crusher decline skull crusher. I’m super excited. So I want to pick up this bar. The decline, the reason I’m like on the decline, and it just gets a better range of motion. So it’s just a bigger range of motion. Good control, keeping those elbows straight up, dropping that thing right behind your hairline. If you don’t have a hairline, just the front top or your head. Same thing six, eight. All right.
So, next favorite bicep number two. So these first ones are for putting on that mass. The last ones I’ll show you for making them look crazy. So this is the seated bicep curl with a barbell. So it’s a smaller range of motion. Sitting on the end of a bench box chair, keeping the elbows in front of you just like I was sharing before with the barbell standing curl, and you’re gonna curl this up to your shoulders.
So, coming down to your knees, get control, sit, coming up to your shoulders, right back down. Same thing for six to eight graphs. All right. So we have so far as the floor bench or just bringing it down to 90 degrees. We got the barbell standing close for it. Curl skullcrusher on a decline match.Now they look closer and closer to benchpress. For by the way, my drop, this a little bit close grip. So when you’re doing your claws, grip, keeping those elbows alongside your body.
So you want your pinkies about so take your thumbs, meet them in the middle, take your pinky stretch them out, or issues on my bar or some rough stuff right there are two ways to hold the bar unhooked or hooked with your thumb. Depending on wrist issues, we’re just taking the bar coming down below your sternum and straight up. Okay, always when you’re working your triceps. You want that good lockout. So you want a good lockout. That way you engage them. All right. Same thing six to eight reps. All right to the biceps are moving right along.
We’re gonna do an incline curl. With the incline seat, the back is further back than normal for incline. And I do that same thing for range of motion. If you have shoulder issues, you don’t want to stay tight like that. You don’t want them to stretch your shoulders out like that. So you put it up a notch or two. Like I always say it hurts, don’t do it. Of course in a bad way, not a good way. Okay, so the incline curl, I like putting my feet on the bench, but the goal is to keep your knees together so that we can keep these dumbbells nice and tight to your body on the curl up.
So just nice and slow, good rotation. So starting off with the hammer, curling up, rotating those pinkies all the way up and almost out a little bit. See I’m trying not to roll my elbows forward, rolling my shoulders forward, keeping those arms straight down, just concentrating around those biceps. It’s a nice and hang on those arms. So you get them all the way down. It’s a dead
Hang and just rotating on the way out, keeping those elbows down, getting a good motion on a curl. Another great exercise for the bicep.
Alright, so we’ve gotten top half bench, we got the skull crushers, close grip batch. Now we’re going to the reverse grip, tricep press downs. We’re almost to the end already. Can you believe it? So we’re doing a reverse grip. So it’s just a lot better on the long head of your tricep. So it’s a reverse grip makes that portion finishes up that horseshoe for you. So standing nice and tall, and just reverse grip so your palms are facing up, hands over the edge of the bar, straight down, locking that tricep out, and you can really feel it on that long head. Same thing six to eight reps. You won’t be able to go as heavy as you would with your You know, regular barbell cable press down, but definitely better for hitting that targeting that long and tricep.
Alright, so moving right along. So we got last two for biceps. So here we go. This is one of my favorites as well. Preacher curl. Show you guys have these kinds of cables. I like using my flex lines, which I’ll show you a whole series on those coming up. All right. So your roll over the incline bench. You want the whole back your arm resting on this pad and you’re just using as isolation and good contract, you’re at the top, same thing six to eight reps. It’s a home keeping institution of all time. Just squeezing that bicep at the top.
So it’s almost like a concentration curl, but it’s a cable. preacher curl one arm preacher curl.
All right, drum roll. This is my favorite one for the tricep. Just for making it look great. And this is what I use for my bodybuilding competitions. shredding up my triceps. Same thing hit that long head.
We’re going to criss cross your hands. I grabbed the nub of a ball that hooks into the cable coming back, which is coming down and out. So it’s almost like a hit back that you would do with dumbbells, but it really isolates that long head of the tricep, again, making it look nice and thick. Really getting some size on those arms. Same thing, six to eight repetitions on that, and the last one for the bias set.
So this will be the fifth one that says like a climb, but instead you’re going to put your chest up against it. So it’s an incline dumbbell curl. And if you’ve seen this before, it was in my working on your bicep peak exercises. So you’re leaning forward on the badge with the big big part of this is squeezing those dumbbells together, it’s the second. It’s like a major key component to the exercise. So squeezing it together while you curl them up. So it’s just like the incline curl clip your arms are hanging down, squeeze them together and contrasting them up. Six to eight repetitions.
And if you throw this in and you do this arm workout, you’re trying to put some massive size on, especially for the beach or summer boating or whatever it is that you’re gonna do. Or you’re just trying to put some gains in your arms.
These are the 10 best for sure. So hopefully you guys enjoyed this bicep and tricep workout. If you haven’t subscribed yet, subscribe, smash that bell. That way you’re notified as new information comes out to you. But I look forward to giving you guys more information. Stay posted
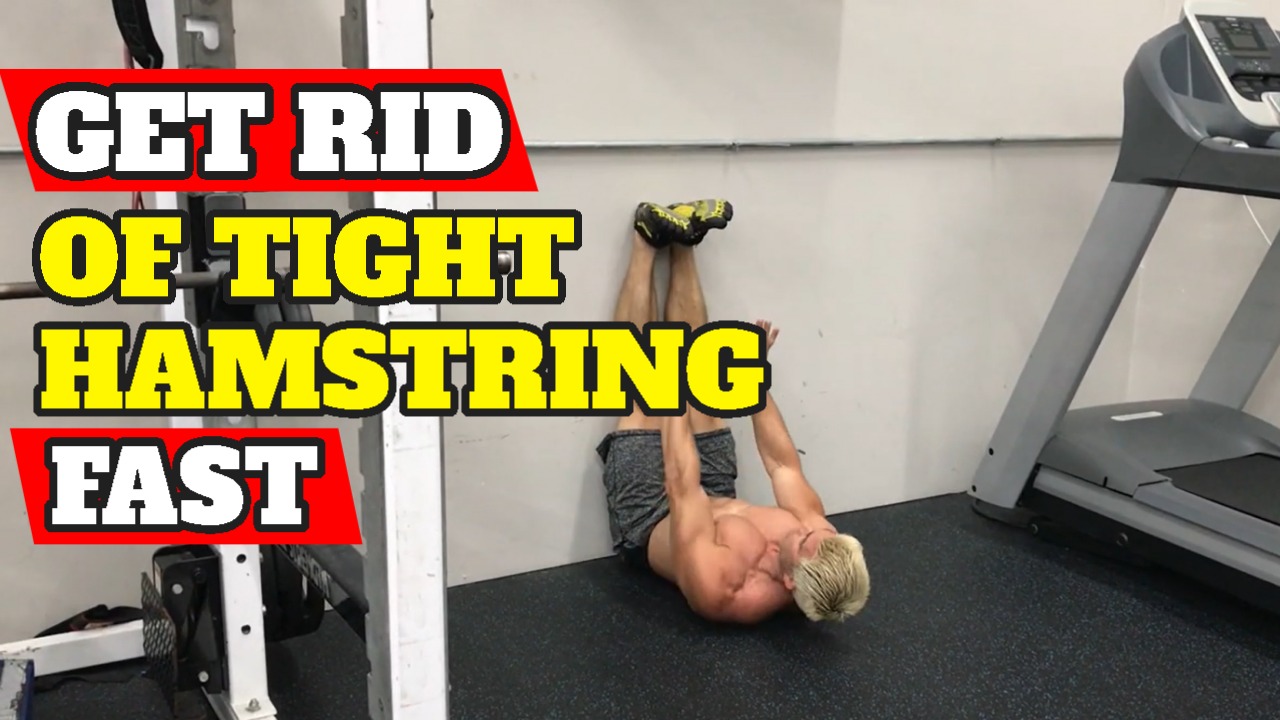
What’s up my fitness family we are doing the wall hamstring stretch today. So if you haven’t seen my previous videos, my name is Brent Kasmer BKPT.
I have several videos out for testing to see the hamstrings. I also have tight hamstring symptoms. So I want to show you a real quick stretch that you can do against the wall.
You can do this in your house office, wherever you’re at. Just so great way to make sure that you get those hamstrings, okay.
So when you sit down and you’re against the wall, you wanna make sure you’re sitting with your hips up against the wall, and then you’re just gonna swing your legs up against the wall like that, but you want to make sure your butt is on the floor.
So make sure your spine is not rolled up. You want to make sure you’re nice and flat with your cheeks up against the wall, and you try to keep your toes pulled down toward you, like looking at the upside-down.
Keep your toes pulled down towards you try to keep your legs nice and flush against that wall, elongating those hamstrings. Okay, so you know, just makes you go into the right position it just really, it forces it so that way you can’t cheat.
Alright, so that is your lying hamstring stretch against the wall. Hopefully, this helps you guys out it, make sure you check out the previous videos. So that way you learn all the different stretches to get those hamstrings. Because this is something that people suffer from a lot of your back issues, hip issues, glute issues, knee issues, you know, a lot of time is derived from the hamstrings.
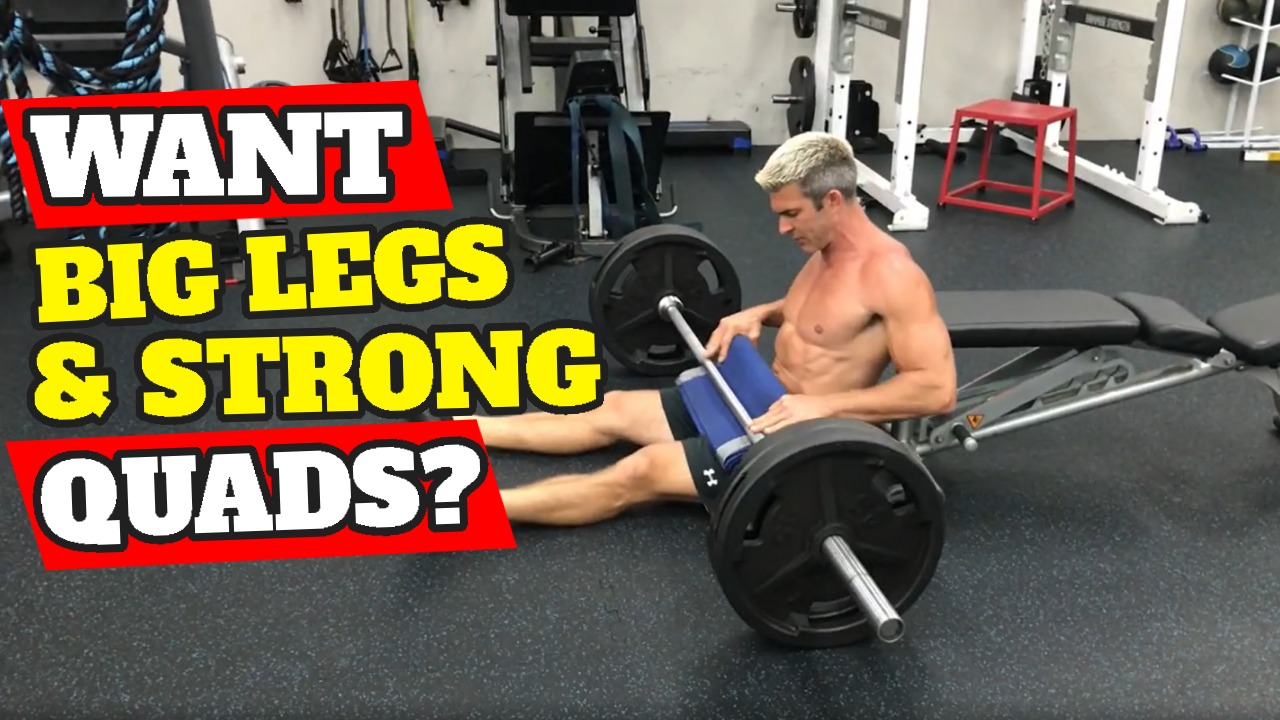
I’m going to share with you the perfect leg workout to build big strong legs.
Awesome. My name is Brent Kasmer, this is BKPT. I’m excited to share with you this great workout today. Hopefully, you guys have no problem putting this together. This is fantastic. And the reason why it’s so good is that it hits all different angles, fast-twitch muscle fibers and slow-twitch muscle fibers and you’re really engaging in and bringing them all into play by doing this.
So alright, so here we go. Pay attention. I like starting off with those hamstrings first to the back of the legs. Because most people, most of my clients have very inactive hamstrings and glutes. So this really helps people to like to tie them in, get them rocking and rolling first, before going into the quad which most people are already quad dominant. Alright, and it really kind of gets him moving in there. Feels a lot better.
So this is what I call the 5-15 40 routines, you’re gonna be doing 40 reps of an exercise,15 reps of an exercise, followed by five reps. So obviously 40 is not going to be as heavy, it’s more of an endurance purpose, but you really want to get that blood pumping to the muscle. Okay, so we’re gonna start with 40 glute raises. So these are those barbell hip thrusts, and I talked about so much these should be in your program, I mean, several times a month for sure. All right.
We’re going to follow that by 15 single legs, it’s an isolation movement, single-leg, hamstring curls, really working those hamstrings. You know, that way it’s isolating them and then finishing up with five barbells, stiff legs. Alright, I’m going to demonstrate all three of these. And then I’ll show you the quad exercises that we’re going to do. So the hip thrust if you have not seen these before, I’ve done tons of different demonstrations on them.
So that way because I just feel that they’re very important people have very underactive glutes, so, you just want to make sure the key factors are one pad, solid bench, so you want something flat behind you. So that way your, you know, shorter blades are right up against it. So this is a big thing. So make sure you get a good little picture that you can ever make sure where I’m at. And you want to roll this bar up, you want to make sure it’s centered so you’re not picking it up off-center, picking it straight up. So you want to bring those knees in, tuck your body nice and tight, and you’re driving straight up. So push it straight up and your hinges on the bench. Okay?
So we’re doing 40 repetitions of the barbell hip. So try not to take a break. When you are doing a high repetition exercise like 40 or whatever you’re doing like a high repetition one. Same set it down. You don’t make it all the way to 25, don’t take more I always say, a good rule of thumb, don’t take more seconds to break than you have reps left. So if you have 25 left 15 seconds right back at it so that way you’re not taking too long of a break.
All right, so this is a single leg and like a kneeling leg curl. So a great piece of equipment. Not everybody has one of these, but I’ll show you the two ways to do it, if you don’t have one. So you’re hooking your foot in here, keeping your body nice and tall, and just curling this up to your buck. Okay, keeping that side on then the biggest thing with this one is not tasting. A lot of people want to twist and try to pull this up. So you want to make sure you keep your side nice and flat up against that pad, your whole body nice and straight and online and curling this up to your buck, or as far as the range of motion is that you can get. So if you can’t get to your butt’s not a big deal. Just go to wherever you can actually physically get to where you’re not like trying to throw the rest of it up there. The other key component is keeping that toe tucked up underneath, so don’t point your toe out. So keeping it tucked up underneath, not pointing the toe out is another key component.
So you would do 15 per leg on this one. If you don’t have a single leg curl, and I talk about these bands all the time, so you would just take a band and you can tie it around like a post, I’m using one of those things a hanging knee raise pad for this if you don’t have one, you don’t need one. If you just have the band, the band itself is fine. I just use this stuff all over the place. So you know hooking your healing here and you would just crawl forward and just curl it to your buck as far as you can. Coming up, curl. Same thing, if move then floaters go back a little bit. So that way I can keep my body nice and flat and just curl it towards my butt.
Alright, so 15 of those. The last one is the barbell stiff like a deadlift in this circuit. So, with the barbell stiff like a deadlift, you want to walk up to the bar. So that way you know it’s up against your shin. When I first picked this bar up, I always held it by preference. Under grip, affiliate, get a stronger grip that way, you can hold it over if you want, but I just feel like you can hold more weight with the over-under grip. So you want to pick this bar up first. So squatted down, keep your back nice and tall. And then you want good control. Hinge your butt back. So you’re pushing your butt back, sliding it down your shins up, squeeze through your hips, slide it down your shins, squeeze through your hips. So you really, really want to focus and feel you are supposed to be working. If you can’t feel it, back off a little bit to get them engaged muscles.
So 5 – 15, 40 there’s the routine for the hamstrings. We always throw in some burpees in between, we only do 10 burpees or squatting down, kicking your feet back 10 burpees, and then we back to the top. So I would do three circuits of these 40 barbell hip thrusts, 15 single-legged leg curls per leg, and then five stiff-legged deadlifts with 10 burpees. Three sets. Alright, the next circuit, we’re going quads now, so we’re going to go 40 leg presses, the same thing, you want to challenge yourself. So you don’t want to be super easy where it’s just you could just go ahead and knock them out and not even think about it. You want to quit, you just have to mentally be strong and push through it. Alright, so 40 repetitions on the leg press 15 barbell back squat, and then we’re going to finish it with five step-ups per leg. And of course, 10 burpees.
So leg press, I have a 45-degree angle leg press or it’s plate weight added. So you would lay down, get your feet set, pushing and you just want a good range of motion. So when you’re doing a leg press, you only want to come down as far as it’s before your hips. Want to pivot up there. Yeah. So coming down until your hips want to pivot up. So you want to stop toward a range of motion it is but you know, you’re not rolling your hips up and elongating that spine at the bottom of that lumbar area.
Set a target.
Has anyone ever had a lower back problem? So 40 leg presses, followed by 15 barbell back squats, I like my preference is setting a box up. So I like tapping my butt to it, it gives me an idea where I need to go. So when you find a box, you want to make sure that it’s a good 90 degree angle box. So that way it gives you a target.
So getting in I always tell people, no, make sure you have your fingers lined up so that when you get under the bar, you’re always centered. That way, if you pick the bar up off to the one side, you know you don’t want the bar tilted to the other side. So getting up underneath it, picking it up, walking in the faculty, feel that box right at your feet. Set always, want to keep your head up, looking forward, keeping that spine aligned. Just touch. You don’t want to sit and relax in that box. You just want to touch right back up. Touch right back up. 15 squats and you want to tense the size of the top. So when you get to that top part, squeeze your thighs and engage them up.
Alright, so that would be your 15. I’m gonna go to dumbbell step ups. So I’m taking that same box. So 20 inch box, or do some dumbbell step ups. So keep your head up, shoulder blades back, and we’re gonna do all five on the one leg, and then you’ll switch. Alright, so you don’t have heavy enough dumbbells. To do a dumbbell step up. For five.
You could always do a single leg Leg Press. With the leg press so you’re nice and heavy. Or you can do a barbell step up. So putting a barbell on your shoulders and doing a step up with the barbell. So this is a good way to add that strength and endurance to engaging both muscle fibers, getting those strong legs. So everybody always wants nice strong legs. It’s the biggest muscle in the body that helps get those hormones up. You know, get you guys going so that way you can work harder on everything else as well. So, all right, this is the perfect leg workout.
Trust me, I promise you’re gonna love it.
You know, I can’t wait to hear you know, the success you had with it once you’ve tried it. So definitely make some comments, thumbs up, like the video, share it, make sure to subscribe to the channel.
I want to make sure you guys are getting the best information out there. And then definitely mash that notification bell that way you’re notified as the new stuff comes up. I look forward to seeing you in the next video.
Today with BKPT wanted to teach you a little bit about a lying gluteal stretch against the wall. So if you’ve seen my previous videos, I have the first one to test if you have tight hamstrings, I also have tight hamstring symptoms to make sure that that’s what you’re actually treating. And I’ve also had a whole series now on different types of stretching for your hamstring.
But this one’s the line gluteal stretch against the wall. All right, so you’ll walk up tight to the wall. You’re gonna sit down, and what you’re gonna do is gonna swing your legs up onto the wall, okay? So if you’re trying to stretch your right leg, your muscle, you’re gonna take that right foot, put it across your knee, so like it makes a finger, here’s gonna slide that heel down the wall, and you’ll use this to push your butt down and push this into your body.
So this is your lying gluteal stretch against the wall and you will do the same thing with your opposite leg. So take it, put it across your knee, slide it down the wall and just use your foot against the wall to push your body, your foot towards you. You’re trying to drive this knee towards you. And you’re just going to try to push your hips into the floor. So even though the C minor up in the air, you want to try to push those hips down to get into that muscle right there.
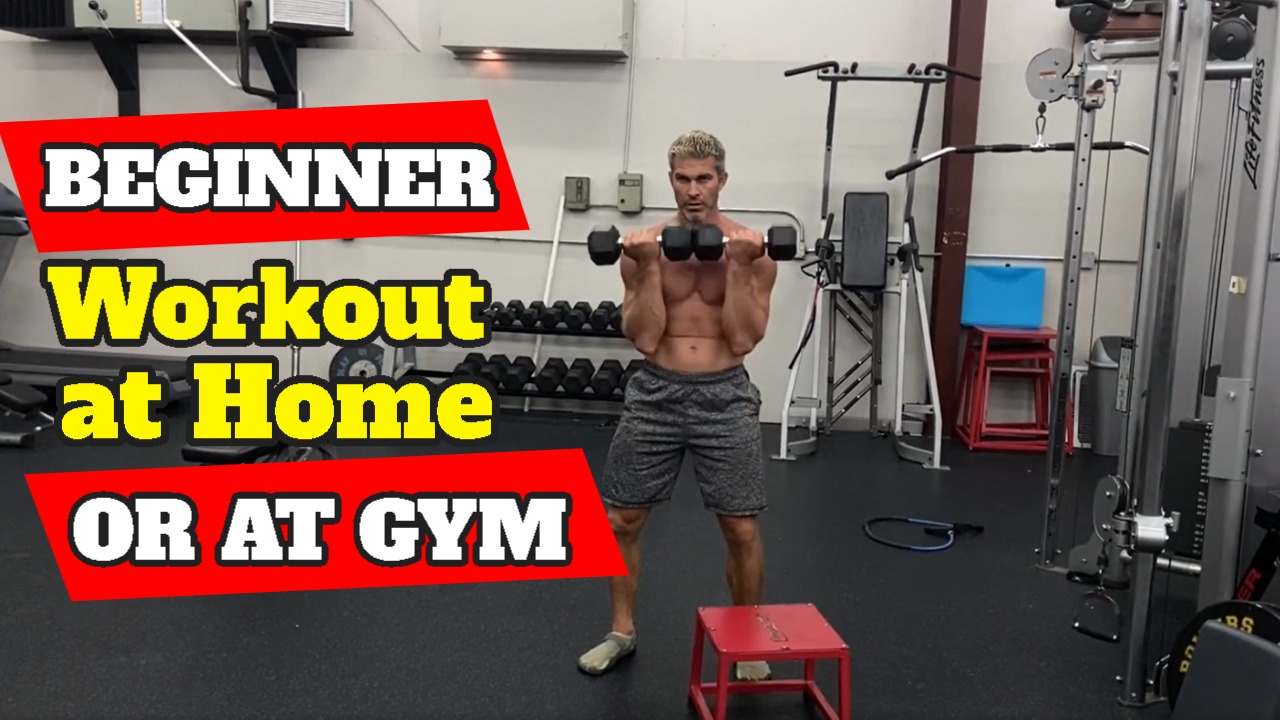
Today, I’m gonna share with you a beginner workout routine whether it’s at the gym or at home. So, I’m going to show you two different variations depending on where you’re still stuck at home. I guess it all depends on what you now stay, the county you live in, what gyms are open or which gyms are not open. I’m gonna go over some equipment to get from your house to coming up really soon. I think like some of the most vital stuff to get if you’re going to go ahead and purchase this though is to worry about any of this stuff ever again.
All right, my name is Brian Casper, BKPT. If you haven’t subscribed yet, definitely subscribe. You know, definitely hit the notification bell so that you’re notified as the new stuff comes out. And if you’re looking for somebody to devise your program specifically for you, with your goals in mind, message me, let me take care of you. Let me get you. Let me get you right. Stop wasting some time. So we’re gonna get started. All right. So Let’s roll.
So when a new client comes in, after the assessment, this is a typical workout to get started, you know, so you’re not overdoing anything. This is something you can do three times per week, you know, a split routine every other day. It’s a little bit of everything.
So we’re gonna start off with a wide grip, lat pulldown, just like so. We keep all the rep ranges, you know, the air between 10 to 15 repetitions, and it’s just good control. You don’t ever want to be sloppy, pulled out squeeze water for a second, and then controller on the way up.
So we would do a trial set. We’re going to do this with benchpress. So if you’re at the gym dumbbell bench presses, slow this land down, when you lay down on a bench and you get the dumbbells resting on your thighs, your quads, so that way you can roll back will fall into position. You can roll them out, and it gives you a good starting position. Most people get hurt getting in and out of exercise. So it’s very important getting into the exercise properly. The same thing 10 to 15 repetitions on the last one, just setting now the third exercise in this group is going to be a setup. So sit up would be just feet on the floor, hands behind the head or across the chest or in front of you and just sitting up.
If you’re not there can’t do any crunches or sit-ups. You know, just keeping your chin tucked to your chest and trying to reach past your knees. Okay, crunching up, blowing out on the way up, focusing on pulling your stomach in as hard as you can. So people out pull in and reach. You don’t want a lot of head movements and end up getting a stiff neck Okay, so try set, wide grip pull downs benchpress sit ups or crunches.
Alright you’re at home don’t have a cable machine or trying to do this. I’m going to show you two different variations. I had this in some of my other videos at home, the 10 best back exercises. This is in there for at home. So you hook the cable the band around the low post, and you would just back up and lay down and just do a pull down just like this. So here’s your lat pulldown now, so my hands are are protonated facing the ground and I’m just doing a pull down. So if you have something and you’re able to hook something up high then you can also me dominoes that even dumbbell rack at home love dumbbells, if not Then you are just using a band, you can do your chest presses this way as well.
So one foot forward, keeping your chest up nice and high. And just pressing these out ends together, just like that, and you can move forward to make it more difficult or backwards to make it less difficult. So challenge yourself, you know, we’re just trying to get by right now. But you know, this is a good beginner workout. You know, that way you can get something in and you’re not missing out, you’re making positive progress for progress. Getting all that in the next circuit, or tries that we’re going to do is a little bit of legs. So we’re gonna go to a step up. So you can use a chair a box, a step of your house, when you’re stair steps. So we’re going to step up like this. If you’re not using weight, you want to keep your hands behind your back helps you keep your shoulder blades cool back Want to drive through the heel of your foot?
Same thing 10-15 repetitions. If you can, you have dumbbells, dumbbells. Another great way to do it if you’re trying to, you know, add some resistance, you don’t have dumbbells, guess what these bands are really, really a great source. You can do a couple different ways you can hold this up like this. challenging yourself, making that a little harder on your quad. Stepping straight up, or you can wrap it behind you on your shoulder and making it even more difficult. Alright, so step up 10 to 15 reps per leg. We’re gonna go into a glue brace.
So, putting your feet up on the box, that step, whatever it is you use, and you’re just driving your hips up and squeezing Okay, to drive your hips up, squeeze so saving 10 to 15 repetitions you need to make Get a little bit harder, you just do the single leg driving up squeezing. Okay, so there’s just a couple different variations for you so that way, you know, cuz everybody’s beginning level is different. So driving up squeezing 10 to 15 repetitions. And then the third exercise in this group is going to be ankle taps. So it’s also known as a penguin. And you’re just keeping your shoulder blades up. Try to work your obliques. So reaching from side to side, don’t rotate, don’t roll into it will try to really just, you know, keep your body shifting and just working those old beliefs.
All right, so that’s your second circuit. You would do each of these like three rounds each. And the last second we’re going to do if you’re at a gym, we’re going to use the cables against so that way you can change the way to challenge yourself. So we’re gonna go on for so long or pole, driving that cable straight back beside you. single arm cable row just like that. 10 to 15 per arm. Then we’re going to do is going to do a cable torso twist or cable would chop. So kneeling down, I’m going to cross the body twisted just like this. So rotating, keeping those elbows locked, rotating your shoulders, so that way, really twist in that way.
Same thing 10 to 15 repetitions per side. Next one’s gonna be a dumbbell curl. So grabbing dumbbells standing nice and tall. Biggest thing is keeping those elbows in front of you hands or pronated facing up the ceiling and just curling them up. Okay.
So single arm row, cable torso twist or what chop dumbbell pronated curls and then an overhead tricep. So these are the ones that that would be at the gym, you got dumbbells, and cable machine. So one foot for keeping your core tight, elbows in nice and tight. You always want to break. Always want to lock those elbows out, engaging those triceps, okay? So always make sure you get a good range of motion. And if you’re not, make sure you just lighten the weight up. Right here we go just in case you only have the band. So this is what we’re doing. You’re gonna hook the band around the post.
There’s two ways to do it, you can keep the handles together to make it double the tension, or you can pass one handle through the other handle so that way, it’s half the tension. Okay. So same thing though. nice and tall, single arm row, opposite foot is forward, driving that elbow back. Move in a rotation, test 10 to 15 repetitions, switching arms, same thing, torso twists on the knees, same thing with the band. Twisting across the body to feel like the range of motion is not that good. Like I was saying you’re going to pass that handle through. Cooling all the way through makes it cinch that way you can get a good range of motion, good torso twist with that resistance band or chop. Okay, so 10 to 15 reps per side.
They want to use the bands for the curl just in case you don’t have dumbbells just want to show you a couple different variations if you’re stuck at home, or if you’re at the gym, so I want you to feel comfortable with wherever you’re at. So elbows in front of you, and curling them up, hey, this is too difficult. Take one foot off, stand in the middle of the band, make it a little bit easier if you still leave it easier. And you just hook it on to a piece of equipment. And you can do a curl that way as well. So if you see this on the post, again, even those elbows up nice and high. Now they can choose the distance or if you’re really difficult, you can back up a lot towards your forehead. And now you’ve just really made that a real difficult exercise. So since I have this on the post, I’m gonna show you the overhead one as well. So passing that handle through again, I personally prefer to hold a band right behind the handle, but you can put hold the handle as well your way but it’s the same thing one foot forward, leaning forward and extending over your head.
Same thing to make it harder you just walk forward more to make it easier you just walk backwards more. Alright, saving 10 to 15 repetitions per exercise three rounds through so you would go through each survey three times. So and that’s this workout should take you about 30 minutes you know if you do it right. Um, you know, you always want to set a timer you want to try to get it done in 30 minutes so you’re not lollygagging around, you know, going to the water found too much checking to make sure the laundry is not you know, Done and folding stuff in between.
Hopefully all these tips help, like I said, Great beginner workout routine, whether you’re at home or at a gym, so Brent Kasmer bk PT. Hopefully this stuff helps. Definitely check out all the videos, subscribe and if you need help reach out

 What’s up my fitness family?